
When starting your WordPress website setup, installing a theme and uploading content isn’t enough. To ensure a fully functional, secure, and search engine-friendly website, you must configure some basic WordPress Settings right after installation. These essential adjustments improve your site’s SEO, enhance website security, and deliver a better user experience.
Whether you’re a beginner or an experienced developer, this step-by-step WordPress configuration guide will help you get the most out of your site from day one.
Why Configuring WordPress Settings is Crucial
Changing the default WordPress installation settings before launch boosts:
- SEO performance for better Google rankings
- Website security to prevent hacks and brute-force attacks
- User experience through optimized permalinks and display settings
- Website speed and performance with proper media and plugin settings
Must-Configure WordPress Settings After Installation
1. General Settings
Navigate to: WordPress Settings > General
Timezone, Date & Time Format: Set your local timezone to ensure accurate post scheduling and time display.
Site Title & Tagline: Choose an SEO-friendly title and tagline. Example: “TechBlog – Latest Tech News & Reviews.”
WordPress Address (URL) & Site Address (URL): Always use HTTPS for better security and SEO.
Admin Email: Enter a valid email for recovery and notification purposes.
2. Reading Settings
Navigate to: Settings > Reading
- Homepage Display: Choose between a static page or your latest posts. For business sites, a static homepage is often better.
- Search Engine Visibility: Uncheck “Discourage search engines from indexing this site” to allow your site to be indexed by Google.
3. Permalink Settings
Navigate to: Settings > Permalinks
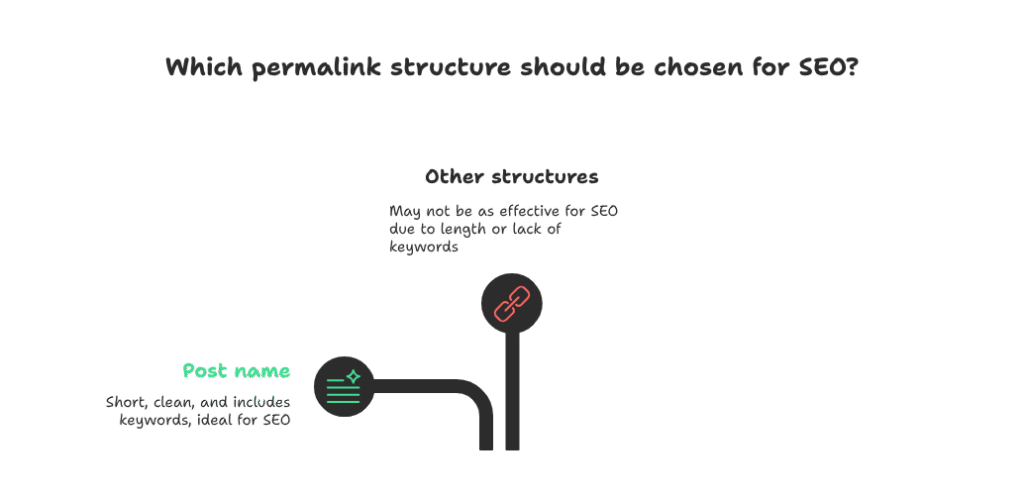
Choose the “Post name” structure (e.g., yourwebsite.com/sample-post). This format is short, clean, and includes keywords—ideal for SEO.
4. Discussion Settings
Navigate to: Settings > Discussion
- Enable or disable comments on blog posts.
- Install anti-spam plugins like Akismet or Antispam Bee to filter out spam.
- Enable manual approval for better comment moderation.
5. Media Settings
Navigate to: Settings > Media
- Adjust default image sizes to prevent oversized files.
- Use image optimization plugins like Smush or ShortPixel to reduce load times without sacrificing quality.
6. Privacy & Security Settings
Navigate to: Settings > Privacy
- Create a Privacy Policy page to comply with GDPR and other data protection laws.
- Use security plugins like Wordfence or iThemes Security to safeguard your website from threats.
Final Thoughts
Don’t overlook these basic but essential WordPress Settings after installation. A properly configured WordPress site is not only more secure and faster but also ranks better on search engines.
By following these best practices, you’re setting the foundation for a professional, high-performing WordPress website.